
Telegram Bot - Node.js And React.js
Description
Telegram Bot - Node.js & React.js
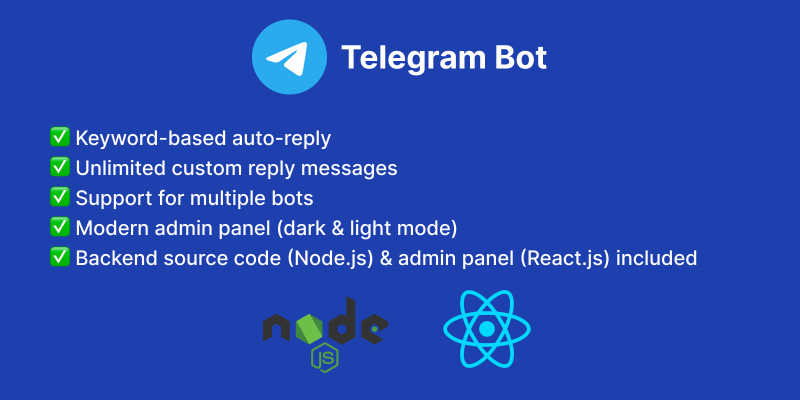
Telegram Bot - Node.js & React.js is a powerful and flexible solution designed to manage multiple Telegram bots from a single, user-friendly interface. Built using modern technologies like Node.js for the backend and React.js for the frontend, this platform offers high performance, scalability, and ease of customization.
With built-in auto-reply functionality, you can automate responses to users based on keywords, commands, or message patterns—perfect for handling FAQs, customer support, or engaging with your audience 24/7. Whether you’re managing one bot or many, this system makes it easy to control and monitor them all in one place.
Perfect for developers, businesses, and bot service providers looking to scale their Telegram automation efficiently.
Features
- ✅ Multi-Bot Support: Connect and manage several Telegram bots simultaneously.
- 🤖 Auto-Reply System: Create custom reply rules with ease.
- 📊 Dashboard UI: Clean and responsive dashboard built with React.js.
- 🔒 Secure API Integration: Built with Node.js and secure best practices.
- ⚙️ Customizable & Extendable: Easily add new features or integrate with external services.
- 🚀 Fast & Lightweight: Optimized for performance, suitable for VPS hosting.
Requirements
- 🖥️ Operating System: Ubuntu 20.04+ / Debian 10+ / Any Linux-based VPS
- 🟢 Node.js: v16.x or higher
- 🗃️ Database: MongoDB (Local or Cloud, e.g. MongoDB Atlas)
- 📦 Package Manager: npm or yarn
- 📡 Public Access: A domain or public IP (for webhook access)
- 🔐 Telegram Bot Token: From BotFather
- 🌐 Optional (Frontend): Node.js-compatible environment to serve React app (e.g. Vite, Next.js, or static hosting)
Instructions
- Download & Extract Files
Extract
telegram-bot.zip, then extract bothbackend.zipandfrontend.zipinto separate folders. - Install Backend Dependencies
Open terminal and navigate to the
backendfolder:cd path-to-folder/backendnpm install - Check or Edit Environment Variables (Optional)
A
.envfile is already provided in thebackendfolder. You can open and edit it if you need to change values like the bot token, MongoDB URI, or port. - Set Backend Port (Optional)
By default, the backend runs on
PORT=3000as specified in the.envfile. If you want to change this, simply edit thePORTvariable in.env. - Run Backend Server
In the
backendfolder, run the following command to start the backend server:npm run devThe backend should now be running athttp://localhost:3000 - Install Frontend Dependencies
In a new terminal window, navigate to the
frontendfolder:cd path-to-folder/frontendnpm install - Check or Edit API_URL (Optional)
The frontend uses the
API_URLdefined insrc/utils/constant.jsto make requests to the backend. If you need to change the API URL, open theconstant.jsfile and update theAPI_URLvariable to match your backend URL (e.g.,http://localhost:3000). - Run Frontend App
To start the frontend app, run the following command:
npm run devBy default, Vite will run the frontend onhttp://localhost:5173(or another available port if 5173 is taken). You can check the Vite server log to see the exact port used after starting the app.
Note: Make sure MongoDB is running locally or remotely, depending on your .env configuration.
| Author | abdoerrahiem |
|---|---|
| Category | Scripts & Code / NodeJS |
| Price | $18 |
| Extended License | $54 |
| Likes | 1 |
| First Release | Apr 25, 2025 |
| Last Update | Apr 25, 2025 |
| Files included | .css, .html, JavaScript .js |
| Software version | PHP 8.3, .NET 4.6 |
| Html/css framework | Bootstrap, Semantic UI |
Categories
Tags
External listing. code.market does not sell this product and does not process payment for it. Pricing, payment, delivery, licensing, refunds, and support are handled by the third-party merchant on its own website. We may earn an affiliate commission from a referral. Details.