Stripe 3D Secure Payment Integration in Asp.Net MVC C#

Description
Stripe 3D Secure Payment Integration in Asp.Net MVC Cardholder authentication using 3D Secure Stripe .Net MVC
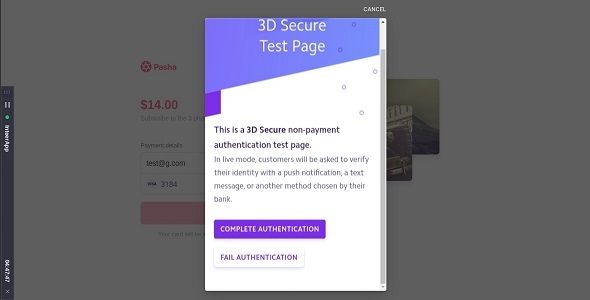
1. Open project. 2. Replace your stripe public key and stripe secret key. 3. run project. 4. Click on 3D Secure or 3D Payment. 5. Enter Card Number like 4000000000003220 (3D Secure Authentication). 6. Enter Expiration like 02 / 25. 7. Enter CVC like 3456. 8. If your card is 3D secure then start stripe 3D secure authentication. 9. It’s depend on you want to authenticate or not. 10.After authentication automatically stripe will deduct payment.
Create Charge Stripe .Net MVC (Like Share & Subscribe)
11. Enter Card Number like 4242 4242 4242 4242. (Not 3D Secure Authentication). 12. Enter Expiration like 02 / 25. 13. Enter CVC like 3456. Enter zip code stripe will handle automatically if its required. 14. Click on Submit Payment. 15. After Click stripe will deduct (Charge) payment.
==================Demo==========================
There are several steps to integrate Stripe.
Basically there are 2 ways to implement it.
Client Side You can use Stripe.js and load the Stripe controls to enter Credit card details and do the payment
Server Side If you already have a full fledged Checkout page and everything is in place then you can use library (DLL) to do the payment.
Today we are going to see Server Side implementation of Stripe. If you follow each and every step you can easily integrate Stripe Payment Gateway.
Step 1
Register on with Email, Name and Password. Step 2
Install Stripe library in your Visual Project using Install-Package Stripe.net. It will download Stripe.net.dll and add a reference to your project. Step 3
Add Namespace (using Stripe.Infrastructure;) to the Class where you want to implement the payment gateway. Step 4
To implement you need to play with several classes. Please follow each step to do the payment.
Step 5
To connect with Stripe you need KEY – “Publishable key”. You can get it from
- 6 month free support included from author
- Free lifetime product updates guarantee
- 360 degrees quality control

